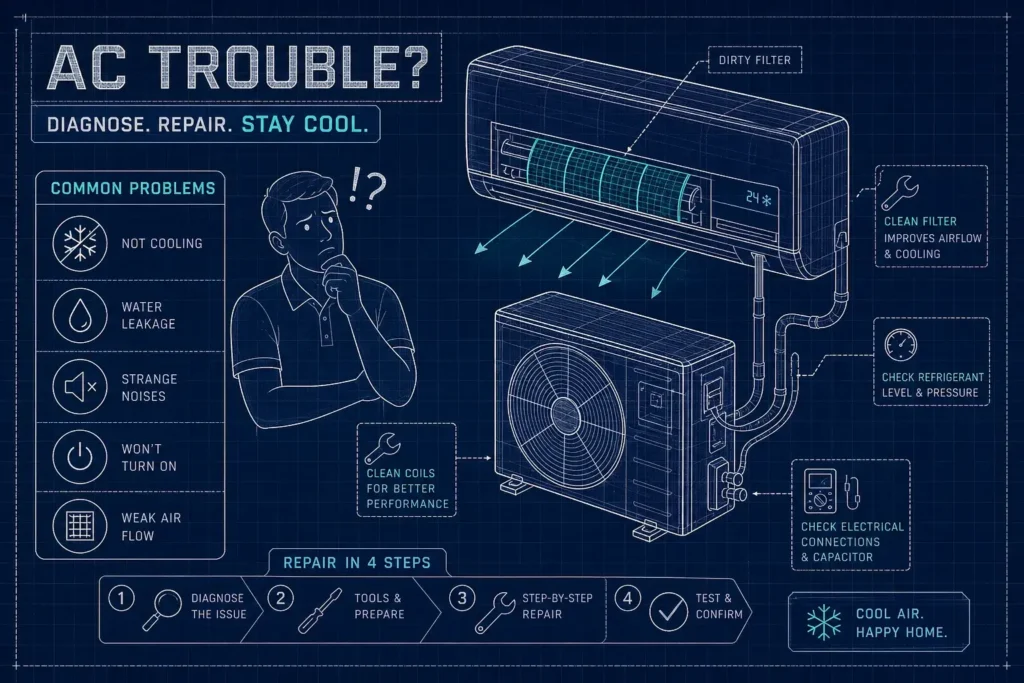
Common causes of a cooling failure include a dirty filter, a tripped breaker, a wrong thermostat setting, a blocked outdoor unit, or a frozen evaporator coil, and knowing how to fix air conditioner problems like these can save you a service call. Many non-invasive checks take under an hour with basic tools, no technician required. The fixes that go beyond that tier, specifically refrigerant leaks and failed compressors, require a licensed HVAC professional and federal EPA Section 608 certification to perform legally. Capacitor replacement is a separate electrical repair that also warrants a licensed technician, though it does not fall under EPA Section 608 requirements.
This guide walks through each common problem with time estimates, difficulty ratings, and clear stopping points. By the end, you’ll know exactly what you can repair yourself, what it will cost if you can’t, and where to turn when the job is above DIY level. At Handyman Tips, our step-by-step guides and searchable DIY database are built to help you make that call correctly.
Key takeaways
- Start with the basics: A dirty filter, wrong thermostat setting, or tripped breaker causes the majority of AC failures and costs almost nothing to fix.
- Safety first: Turn the thermostat off before inspecting; turn the breaker off before opening any panel; never touch capacitors or refrigerant lines.
- Know your stop signs: Burning smells, scorch marks, hissing near refrigerant lines, or a breaker that trips a second time all mean stop and call a pro.
- Refrigerant work is federally regulated: EPA Section 608 certification is legally required for anyone who opens the refrigerant circuit, including homeowners. Capacitor replacement does not fall under Section 608 but still requires a qualified technician.
- Budget realistically: Professional repairs typically range from about $250 for a capacitor swap to $2,000 or more for a compressor replacement, per Trane, HomeGuide, and HVAC Registrar.
- Replace vs. repair: If a repair exceeds 50% of a new system’s cost and the unit is over 10 years old, replacement is usually the smarter financial move.
What you need before you start fixing your air conditioner
Before you touch anything, set the thermostat to Off and switch off the breaker labeled AC, air conditioner, or HVAC at the main panel. Also flip the outdoor service disconnect located near the condenser unit. These are non-negotiable steps. Opening an access panel with the system energized puts you near high-voltage components, and a central AC unit runs on 240 volts.
Keep your hands away from capacitors at all times. Capacitors store a dangerous electrical charge even after power is disconnected, and a discharge can be fatal. The same rule applies to refrigerant lines: never puncture, cut, or attach anything to them. If you smell burning, see scorch marks or sparks, or hear a hissing sound near the refrigerant lines, stop immediately and call an HVAC professional. Water pooling near electrical components is another signal to stop. Those situations go well beyond surface-level DIY.
For the repairs covered here, gather these tools before you begin: the correct replacement filter, Phillips and flat-head screwdrivers, a flashlight, an adjustable wrench, safety glasses and work gloves, a soft brush or vacuum with a brush attachment, a garden hose with a gentle spray nozzle (never a pressure washer), a wet/dry vacuum, and a digital thermometer. A non-contact voltage tester and multimeter are useful only if you are trained and comfortable with electrical systems. Owning those tools does not make live electrical work safe for an untrained person.
How to fix air conditioner problems: quick checks that catch most issues in under ten minutes
The thermostat is the fix most homeowners overlook. Confirm the mode is set to Cool, not Fan or Heat, and that the set temperature is several degrees below the current room temperature. If the thermostat runs on batteries, replace them. Some systems have a built-in startup delay of 3 to 5 minutes after a thermostat change, so wait before concluding the system is broken. This entire check takes about two minutes and costs nothing. Difficulty: beginner.

Next, check the breaker panel and the outdoor disconnect. Look for the breaker labeled AC, air conditioner, or HVAC. A tripped breaker sits in the middle position rather than fully on or off. To reset it, move it fully to Off, then back to On, once. If it trips again immediately, turn it off, leave it off, and call a technician, repeated tripping signals an electrical fault, not a simple reset situation. Also check the outdoor service disconnect box near the condenser. This check takes 3 to 5 minutes. Difficulty: beginner.
Finally, inspect the condensate drain around the indoor air handler. Standing water in the drain pan, a wet floor, or an overflowing drain outlet all indicate a clog. If the drain outlet is accessible without removing any panels, clear visible debris from the opening. A wet/dry vacuum can clear a simple clog at the drain line’s end. One important warning: if the system has a float switch that cuts power to prevent flooding, do not attempt to bypass it. That switch is a safety device, and bypassing it is a job for a licensed technician. The whole check takes 5 to 10 minutes. Difficulty: beginner.
Step-by-step repairs to fix AC problems at home
How to fix air conditioner filter issues
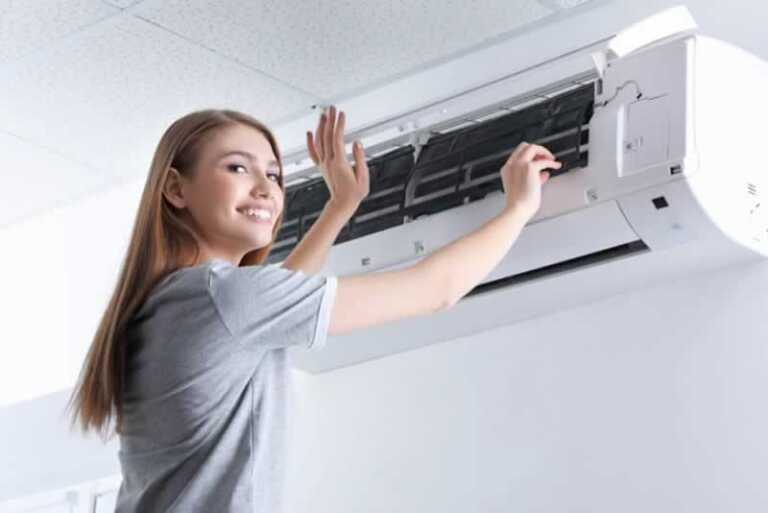
A clogged filter restricts airflow, makes your system work harder, and is among the most frequent causes of a frozen evaporator coil. Replacing it is the single most impactful thing you can do. Estimated time: 10 minutes. Difficulty: beginner.
- Turn the system off at the thermostat.
- Locate the filter at the return grille or the air handler filter slot.
- Note the size printed on the filter frame before removing it.
- Slide the old filter out and compare its color and debris level to a new one.
- Slide the new filter in with the airflow arrow pointing toward the unit.
- Turn the system back on and monitor airflow from the vents.
If your filter is washable rather than disposable, let it dry completely before reinstalling. A damp filter restricts airflow just as badly as a dirty one and also spreads bad smell across your home. Check filters monthly during peak cooling season; a clogged filter is the most preventable cause of an expensive repair call.
Cleaning a blocked outdoor condenser unit
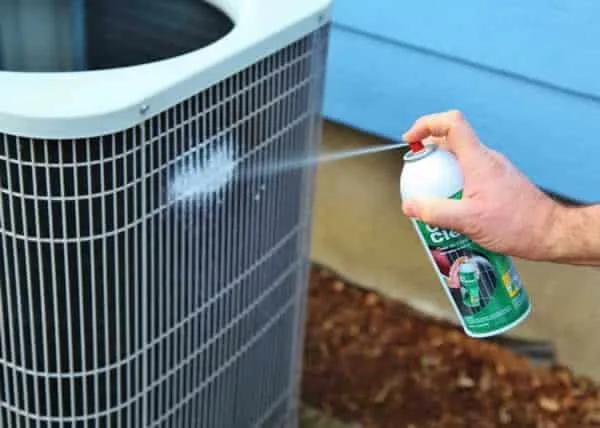
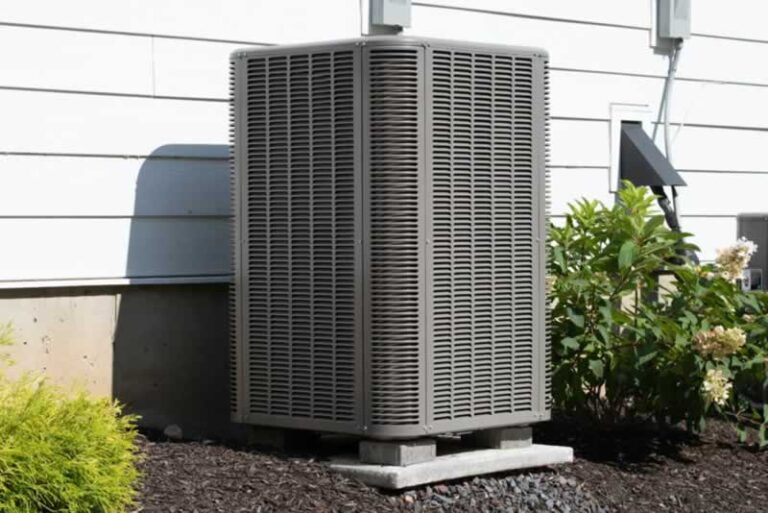
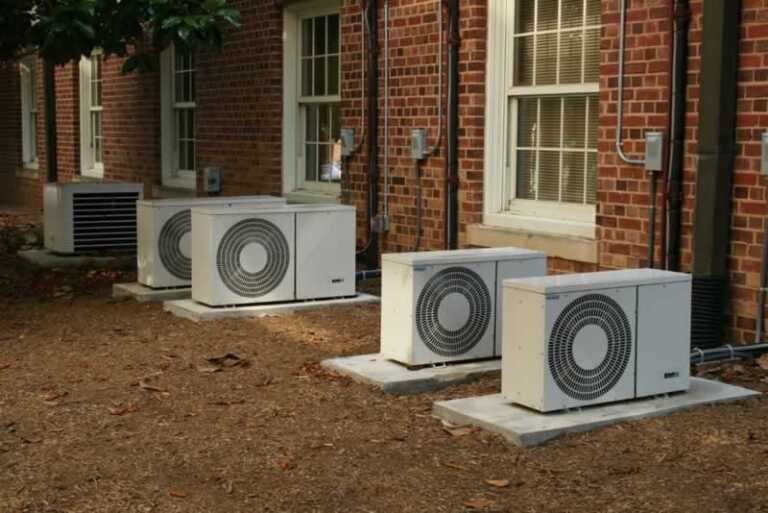
Leaves, grass clippings, and debris can pack against the condenser coil and prevent it from releasing heat. Cleaning the unit is straightforward, but you need to follow the right sequence. Estimated time: 20 to 30 minutes. Difficulty: beginner to moderate.
- Set the thermostat to Off and switch off the outdoor disconnect.
- Remove leaves and loose debris from the surrounding area by hand.
- Maintain 2 to 3 feet of clearance around all sides of the unit.
- Use a soft brush to gently clear the fins, moving straight up and down, never sideways.
- Rinse the coil with a garden hose on a gentle, wide-fan setting, working from the inside out when safely accessible, or from the outside in gentle strokes.
- Allow the unit to dry for 30 to 60 minutes before restoring power.
Never use a pressure washer on the condenser coil; the fins are thin aluminum and bend easily. Do not touch the fan blades, wiring, or refrigerant lines at any point. If the fins are severely bent or the unit shows visible physical damage, schedule professional service rather than attempting to continue.
Fixing a frozen evaporator coil
Signs of a frozen coil include the AC running continuously with little cooling, weak or warm airflow from vents, visible frost on the air handler cabinet or refrigerant lines, and water pooling around the indoor unit as the ice melts. The fix requires patience more than tools. Estimated time: 1 to 24 hours for the thaw, plus 15 minutes of active work. Difficulty: beginner.
- Set the thermostat to Fan-only mode, or Off if your system has no fan-only option, to begin thawing.
- Do not chip ice off the coil; let it melt naturally.
- A lightly frosted coil may thaw in 1 to 3 hours; heavy ice typically takes 4 to 8 hours; a severely iced coil can take up to 24 hours.
- Once all ice has cleared and the condensate pan has drained, replace the air filter and check that all supply and return vents are open and unobstructed.
- Restart the system in Cool mode and monitor it closely.
If the coil freezes again after the filter is clean and vents are clear, shut the system off and call a licensed technician. A recurring freeze almost always points to low refrigerant, a failing blower, or a dirty coil interior. Repeatedly restarting a frozen system can damage the compressor, which is a far more expensive problem.
Thermostat and breaker resets
If fresh batteries, correct mode settings, and a 5-minute wait don’t bring the system back to life, the next step is checking the wiring connections at the thermostat base, but only if you’re comfortable doing so. Look for any wire that has slipped off its terminal or shows visible corrosion. A smart thermostat swap is a reasonable DIY project for most homeowners; wiring deeper inside the air handler is not. For breakers, the rule is simple: one reset only. If it trips a second time, the electrical system needs a licensed technician. Estimated time: 10 to 15 minutes. Difficulty: beginner.
Refrigerant Leaks
When your unit is exhibiting a refrigerant leak the efficiency of the system will be compromised. The purpose of the refrigerant is to cool the air that is released in the home. When there is a leak, the quality of the air you receive will suffer. Yet, it is not just a matter of buying some refrigerant to add to it. You need a professional to diagnose the reason for the leak and fix it.
Compressor Problems
When your AC’s compressor has burned out or is faulty, you may start hearing strange noises coming from the equipment or may realize that the system has lost its cooling capacity. The compressor may also fail when it overheats or when there is an electrical fault within the unit. Having compressor issues means you need to call an AC repair technician to come and have a look and make sure the system will be up and running in no time.
Faulty Electrical Components
Many common AC issues deal with mechanical problems. However, there may also be a need for repairs when there are electrical problems such as damaged electrical wires, faulty circuit boards, or incorrect voltage. All of these issues can cause your unit to stop working correctly. Some other electrical issues may be present when the AC turns off unexpectedly, when the system is tripping the circuit breaker, when the thermostat stops working, or when the AC capacitor is faulty or there is a board failure. Get an expert to have a look since these are not issues that a homeowner can fix.
AC Blows Hot Air
The first step when you notice hot air coming out of your AC is to check the thermostat. Make sure no one in your household accidentally set it to “heat” or “fan”. Get it back to “cool” or “auto” and verify whether this has solved the problem. If this step does not solve the issue, it is time to call on the professionals to come in.
If you feel that the AC is taking longer than usual to cool the home, it may be a problem with a clogged AC system. Make sure the outdoor component is free of debris and clean anything that may have accumulated around the unit so that airflow is no longer restricted. Otherwise, call an AC technician to have a look.
When to stop the DIY repair and call a licensed technician
Some repairs are off-limits for homeowners not because they’re difficult, but because federal law requires specific certification to perform them. Under EPA Section 608, anyone who opens the refrigerant circuit, adding or removing refrigerant, connecting gauges, or replacing compressors, must hold the appropriate certification. This applies to homeowners and contractors alike. Intentional venting of refrigerant is federally prohibited, not merely inadvisable. Beyond the federal requirement, state and local laws may add licensing requirements for full system replacement, electrical work on new circuits, and other work.
The practical rule: if the repair touches the sealed refrigerant system, hire a contractor whose technician holds Section 608 certification. Beyond legal requirements, stop working and call a professional the moment you encounter any of these warning signs: a burning smell or scorch marks, exposed or damaged wiring, hissing near refrigerant lines, ice that returns after thawing and filter replacement, water pooling near electrical components, or a breaker that trips a second time. These signals indicate real safety risks, and continuing the repair can void manufacturer warranties on top of the danger.
What professional AC repair actually costs in 2026
Understanding the cost range before you call a technician helps you budget accurately and recognize when a quote is out of line. Diagnostic or service-call fees are often billed separately from repair costs, typically in the range of $75 to $200, according to Trane and HomeGuide.
A refrigerant top-off that repeatedly loses pressure usually indicates a leak, so the final bill typically climbs well above a simple recharge cost once leak detection and repair are factored in. Compressor replacement is expensive enough that it triggers a replace-vs.-repair calculation on most older systems. The general rule: if the repair cost exceeds 50% of a new system’s cost and the unit is 10 or more years old, replacement is usually the smarter financial decision.

Fix what you can: know when to stop
Air conditioning troubleshooting often begins and ends with the basics. Swapping a dirty filter, resetting a breaker, or letting a frozen coil thaw before restarting are repairs that cost almost nothing. Many of these checks wrap up well under an hour. The moment a fix requires touching refrigerant lines or compressor components, or working on live electrical panels, it crosses into licensed-technician territory, both legally and for your safety.
When you’re ready to fix your air conditioner and want guidance matched to your specific system, Handyman Tips has step-by-step repair guides and a searchable DIY database to help you find the right approach before you pick up a screwdriver. For anything that falls beyond the DIY tier, our expert team can walk you through your options or point you toward a qualified local HVAC professional. For HVAC repair near me searches, your local contractor’s licensing board is also a reliable starting point for finding certified technicians. Don’t guess on the jobs that matter most.
Frequently Asked Questions
Can a homeowner legally handle refrigerant or recharge the system?
No, a homeowner may not legally open the refrigerant circuit without EPA Section 608 certification. The federal rule applies to anyone who adds or removes refrigerant, connects gauges, or replaces compressors, and intentional venting of refrigerant is federally prohibited. If the repair touches the sealed refrigerant system, hire a technician with Section 608 certification.
How long should I wait after changing the thermostat before assuming the system is broken?
Wait 3 to 5 minutes after changing the thermostat before concluding the system is broken. Many systems have a built-in startup delay in that window, so give it time to respond and check that the mode is set to Cool and the set temperature is several degrees below the room temperature. If nothing happens after that wait and fresh batteries and settings are correct, proceed to breaker and wiring checks or call a technician.