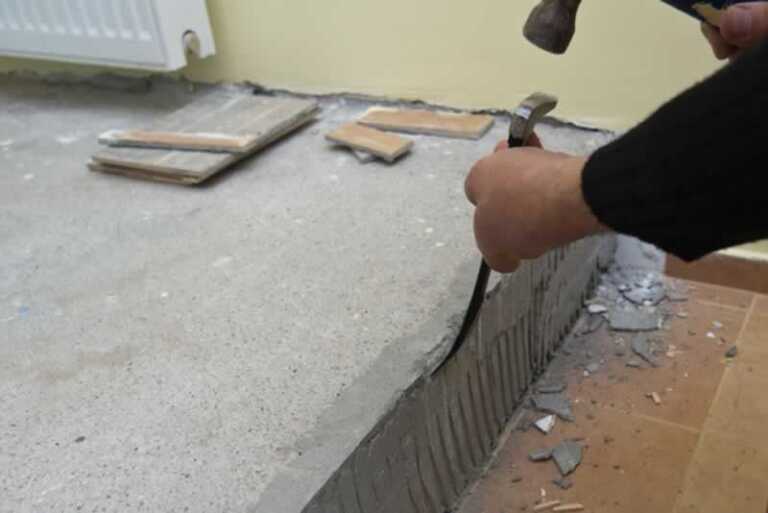
Most people walk into the hardware store, grab a bag of premixed concrete, and call it a day. For fence posts and large slabs, that’s a perfectly reasonable call. But for planters, bowls, trivets, and small patch repairs, home made cement, your own blend of Portland cement, sand, and aggregate, gives you something a bag of Quikrete can’t: full control over texture, weight, and additives, often at a lower cost per batch when you’re doing repeat projects. The tradeoff is that you need to get the ratios right. A bad mix cracks, crumbles, or stays perpetually weak, and most failures trace back to one of three mistakes: wrong proportions, too much water, or skipped curing.
This article covers exact recipes for small-batch craft and repair work, the right water-to-cement ratio, the additives worth using, the safety gear you can’t skip, and an honest look at when a bagged premix actually beats the DIY route. By the end, you’ll know which recipe fits your project, how to cure it without cracking, and when to just buy the bag.
What Homemade Cement Actually Is (and What Portland Cement Alone Can’t Do)
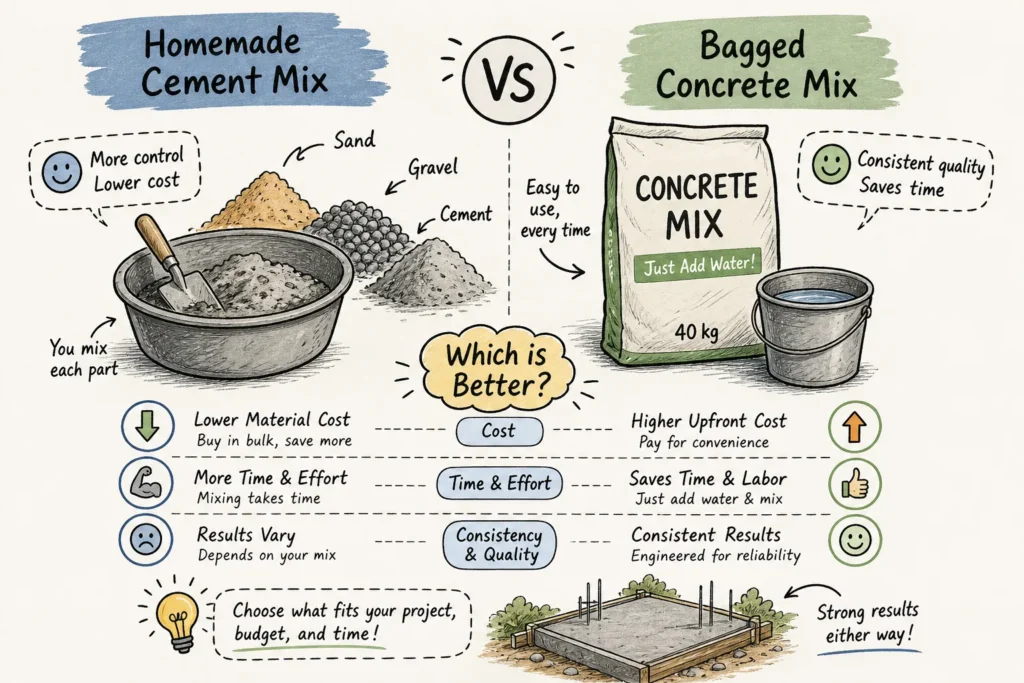
Portland cement is a binder, not a finished mix. Using it straight produces a paste that shrinks aggressively as it cures, leaving you with a cracked, fragile result. Every durable concrete or mortar mix adds sand, aggregate, or both to reduce that shrinkage, fill voids, and build compressive strength. When people talk about mixing their own homemade cement, they mean combining Portland cement with these additional materials in specific proportions.
The three core ingredients each do different work. Portland cement is the chemical binder that hardens through a reaction with water. Sand fills the voids between cement particles, reduces shrinkage, and determines surface texture. Aggregate, typically pea gravel or coarser sand, adds bulk and compressive strength for thicker castings. The grading of your sand matters more than most beginners expect: fine washed sand produces smooth, detail-holding surfaces for bowls and trivets, while coarser sand or pea gravel is appropriate for planters and structural patches.
The recipe also changes based on what you’re making. Thin-walled decorative pieces, anything under about 1 inch (25mm) thick, work best with a fine mortar mix that skips aggregate entirely. Thicker planters and structural repairs need the full cement-sand-gravel formula. Running through all of it is the water-to-cement ratio, which matters just as much as the dry ingredient balance.
Tested Small-Batch Recipes with Exact Mix Ratios
The recipes below reflect published, well-established mix proportions for small-batch DIY work, not guesswork. These three formulas cover the most common homemade concrete applications, from fine decorative castings to structural planters.
Fine Mortar Mix for Bowls, Trays, and Trivets (1:2 Ratio)
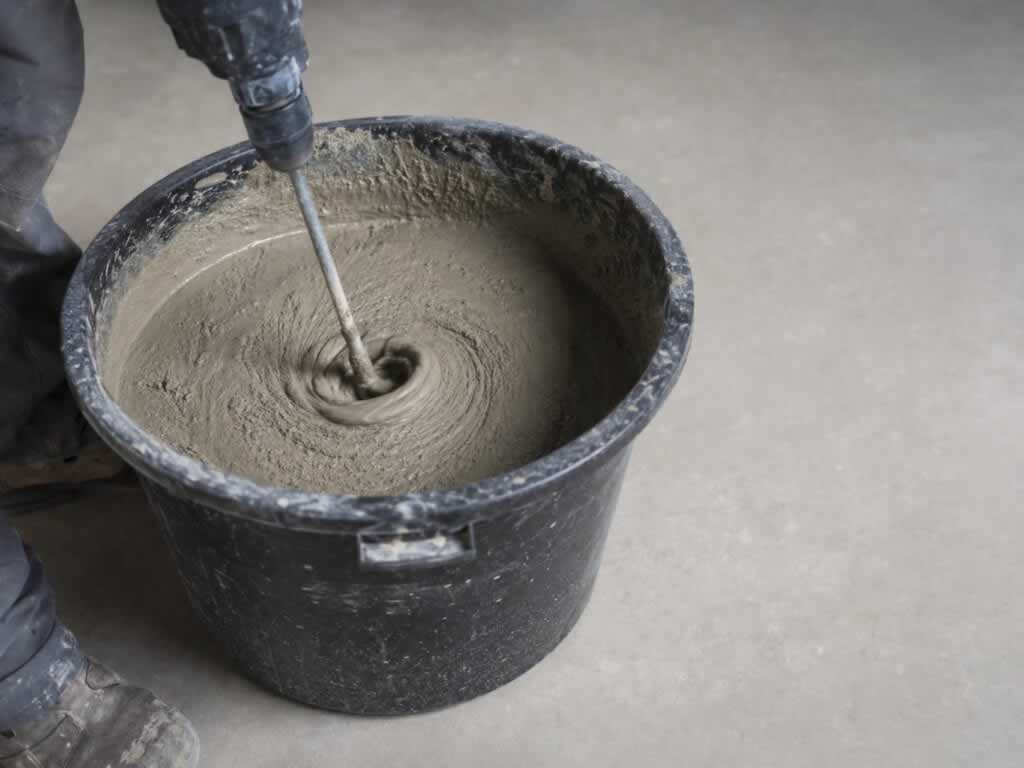
Use 1 part Portland cement to 2 parts fine washed sand. For a small batch, that’s roughly 1 cup (220, 240g) of cement to 2 cups (300, 340g) of sand. Add water at 0.40 to 0.45 times the cement weight, which works out to about 90, 105g for this batch size. The target consistency is thick yogurt, not a pourable slurry. Always dry-mix the cement and sand first for at least two minutes before adding any water.
Add about 80% of your calculated water, mix for two to three minutes, then add the rest in small increments until the mix holds its shape without slumping. This batch yields roughly 550, 650g of wet mix, enough for a small bowl or several trivets. Weighing your ingredients beats measuring by volume because different sand sources have different bulk densities, and small batches amplify those differences quickly.
Standard Concrete for Planters and Household Repairs (1:2:3 Ratio)
For pieces with walls 1 to 1.5 inches (25, 40mm) thick, use 1 part cement, 2 parts sand, and 3 parts small pea gravel. That’s approximately 1 cup (220, 240g) cement, 2 cups (300, 340g) sand, and 3 cups (450, 550g) pea gravel, with the same 0.40, 0.45 water-to-cement ratio. For delicate molds where pea gravel won’t fit, replace some or all of the gravel with coarse sand. After filling the mold, tap it firmly on your work surface several times to release trapped air bubbles. Air pockets become holes and weak spots in the finished piece.
For walls thinner than 1 inch (25mm), the 1:3 sand-only mix with optional alkali-resistant fiberglass fibers is more practical than the full aggregate formula. Consider expanding this approach by noting that aggregate consolidation breaks down in tight, thin sections, the particles simply can’t pack properly, leaving voids. For very thin work, a sand-only mix reinforced with alkali-resistant fibers gives you both workability and crack resistance in a single formula.
Getting the Water-to-Cement Ratio Right Every Time
Excess water is the single most common mistake in small-batch mixing. It feels like it makes the mix easier to work with, but it weakens the final piece, increases porosity, and causes shrinkage cracking. The incremental add method is the most reliable approach: calculate your total water, add 80% of it, mix thoroughly, then add the rest in small amounts until the mix holds a shape without slumping or crumbling. If the mix reaches the right consistency before you’ve added all the calculated water, stop there. A conservative water-to-cement ratio of 0.40, 0.45 by weight is a reliable target for craft mixes; some references extend this range to 0.50, but staying at the lower end consistently produces stronger, less porous results.
Additives That Change Strength, Weight, and Surface Finish
Four additives are genuinely worth understanding for small-batch DIY work: perlite, fiberglass, acrylic fortifier, and polymer. Each one changes the mix in specific ways, and knowing the tradeoffs lets you choose the right one for your project rather than adding things at random.
Lightweight and Crack-Resistant Additives: Perlite and Fiberglass
Perlite reduces density significantly. A mix where perlite completely replaces sand drops to roughly 48% of the density of sand mortar, a meaningful weight reduction for hanging planters or large decorative pieces in the garden. The tradeoff is compressive strength: complete perlite replacement can cut strength nearly in half. For most applications, keep perlite substitution under 25% of the sand volume to get some weight reduction without a major strength penalty.
Fiberglass improves crack resistance and tensile toughness. Use alkali-resistant fibers, not standard fiberglass, since cement’s high pH degrades standard glass fibers over time. Keep the dosage modest; overdoing it creates a rough, fuzzy surface that’s difficult to finish. For thin planters and bowls where cracking is a real concern, alkali-resistant fibers are a practical addition at the manufacturer’s recommended rate.
Surface and Bond Improvers: Acrylic Fortifier and Polymer
Acrylic fortifier ranks among the most useful additives for many small DIY projects. It improves adhesion, reduces shrinkage cracking, and produces a tighter, less chalky surface finish without dramatically affecting compressive strength. It’s especially effective when patching cracks or bonding new concrete to old. Use the fortifier as a partial or full replacement for mixing water, not as an addition on top of a full water dose, or you’ll end up with a mix that’s too wet.
Polymer modifiers work similarly but are more formulation-specific. They improve cohesion and water resistance and smooth out surface pinholes noticeably. For decorative pieces where appearance matters, the combination of fine sand and an acrylic or polymer modifier produces the cleanest surface finish of any additive approach.
Safety Gear and Safe Handling You Cannot Skip
Wet cement is strongly alkaline, pH high enough to cause chemical burns on skin, and those burns can develop after a delay, which is exactly why people underestimate the risk. Dry Portland cement dust is a serious respiratory irritant. Neither hazard is worth treating casually, even for a small craft project.
The PPE Checklist Before You Mix
Before you open a bag of Portland cement, have the following ready: waterproof alkali-resistant gloves (nitrile, butyl, or PVC), chemical splash goggles rather than standard safety glasses, and an N95 or higher particulate respirator for handling dry powders. For prolonged or particularly dusty work, consult your respirator’s manufacturer guidance or OSHA/NIOSH recommendations, as higher protection or a fit-tested respirator may be appropriate. Long sleeves and waterproof boots round out the kit for any batch larger than a single bowl. Barrier creams are not a substitute for gloves, they don’t provide adequate protection against prolonged alkaline exposure.
Workspace Setup and Cleanup Rules
Work outdoors or with strong cross-ventilation, and position yourself upwind when pouring dry powders. Pour bags gently to keep dust down. Never dry-sweep spilled cement; use wet cleanup methods instead. Keep clean water or an eyewash immediately available. For skin contact, remove contaminated clothing and rinse the affected area thoroughly with plenty of clean water. Wash hands and exposed skin before eating, drinking, or touching your face.
Curing Your Homemade Cement for Maximum Strength and No Cracks
Curing is where most DIY cement projects fall apart. The mix can be perfectly proportioned, but if it dries too fast or gets ignored after demolding, surface cracking is nearly guaranteed. The chemistry of concrete hardening requires sustained moisture, not just time.
The Curing Timeline That Actually Matters
Keep the piece in its mold for the first 24, 48 hours, covered with plastic and out of direct sun and wind. Once the surface is firm enough that water won’t damage it, begin moist curing by covering with wet burlap, misting regularly, or sealing under plastic sheeting. Maintain continuous dampness for a minimum of seven days. The 28-day mark is the practical benchmark for near-full strength, though curing continues beyond that. For craft pieces and planters, seven days of moist curing followed by gradual drying in a shaded spot is the workable standard before you put the piece into service.
Methods That Prevent Surface Cracking
Continuous moisture beats intermittent wetting. Repeated wet-dry cycles during early curing encourage the surface cracking you’re trying to prevent. Shade the piece from direct sun and protect it from wind to avoid plastic-shrinkage cracks in the first few hours after casting. For planters, form drainage holes during casting rather than drilling them afterward near the base, where the wall is most likely to crack under the pressure. After full curing, seal inside and outside surfaces with a compatible concrete sealer before planting or placing outdoors.
The biggest driver of shrinkage cracking isn’t the curing process itself, it’s the excess mixing water added at the start. Getting the water ratio right in the first place reduces the curing burden significantly.
When Bagged Concrete Mix Wins: An Honest Cost and Use Case Comparison
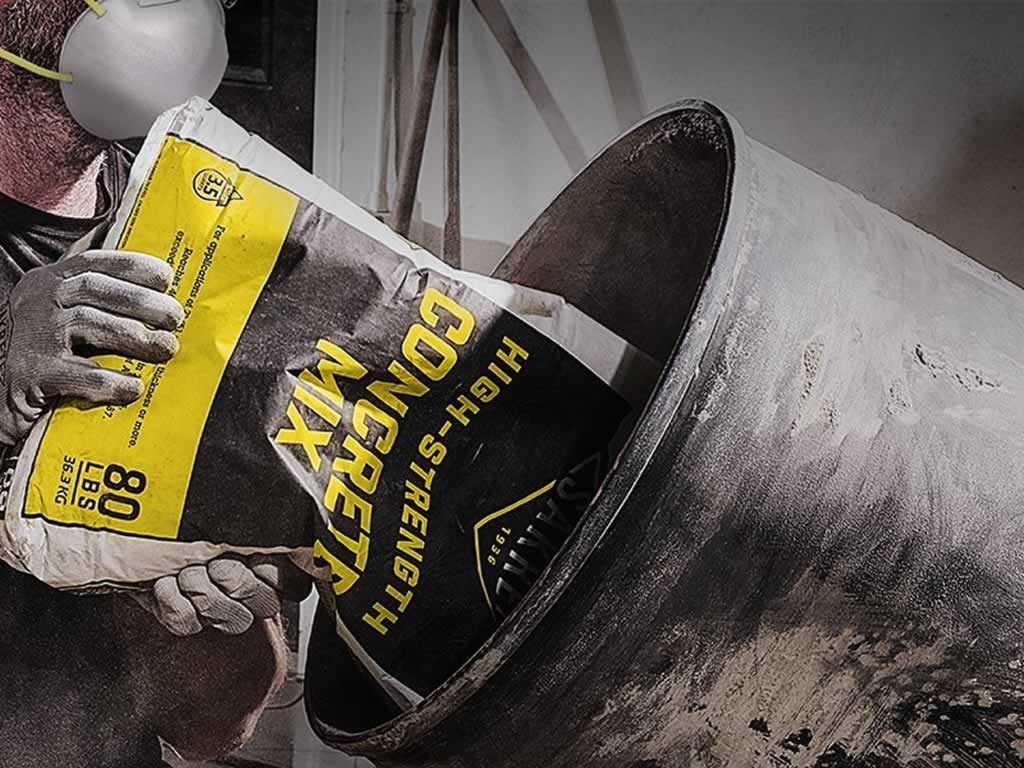
The DIY route is cheaper per pound of finished concrete at scale, but the math shifts for small projects. An 80-lb bag of Quikrete or Sakrete typically runs roughly $4.25, $7.50 and yields about 0.60 cubic feet, though prices vary by store, region, and bag size. Mixing the equivalent from Portland cement, sand, and gravel at retail prices costs closer to $2, $4 per cubic foot in materials, which looks like a clear win until you account for the partial bags left over. Portland cement that’s improperly stored after opening absorbs moisture and can harden in the bag before your next project.
For one to three bags’ worth of concrete, a premixed product is almost always the better total project cost. The convenience, consistency, and lack of leftover materials outweigh the per-pound savings. For larger quantities, four or more bags, or for repeat casting projects where you’ll use the full material supply, mixing from raw ingredients is measurably cheaper. Handyman Tips covers the cost breakdown by project size in more detail in the mixing ratio guide.
Project Types Where Premixed Beats DIY Every Time
Structural applications, fence posts, concrete pads, and anything load-bearing, are better served by a bagged mix with a tested, certified formulation. If you need the concrete to reach working strength fast, commercial mixes with built-in accelerators outperform a basic Portland cement formula. For fast repairs on a tight schedule, the time savings alone justify the higher material cost.
Where DIY concrete genuinely earns its place is in decorative and craft work: planters, bowls, trivets, stepping stones, and small crack patches where you want specific control over texture, weight, and additives. A generic bagged mix can’t give you a lightweight perlite blend for a hanging planter or a fiber-reinforced fine mortar for a thin-walled bowl. That’s where mixing your own pays off in ways the cost comparison doesn’t fully capture.
The Decision Is Simpler Than It Looks
Mixing your own home made cement blend is practical and cost-effective for small-batch craft projects and minor repairs. The core requirements are straightforward: use the right recipe for your wall thickness, keep the water-to-cement ratio between 0.40 and 0.45 by weight (the lower end of the workable range), and keep the piece continuously damp for at least seven days after casting. Safety gear is non-negotiable, put it on before you open the bag. For structural work, speed-critical repairs, or small one-off projects, a bagged premix is the smarter pick. Follow the recipes and curing steps above, and your home made cement pieces will be strong, dense, and long-lasting. For large outdoor surfaces we advise that you always use ready mix concrete and prepare your site properly before pouring.
For quick workspace reference, the Handyman Tips mixing ratio guide covers all three recipes, the water ratio calculation, and a curing checklist you can keep at your workbench. If you run into a specific project challenge or a mix that isn’t behaving as expected, the Handyman Tips team is available for troubleshooting. The right ratio and a little patience are genuinely all that separate a cracked, chalky disappointment from a clean, solid result you’ll use for years.