

Renovation projects rarely go off track because someone forgot the new tile or paint color. More often, the slowdown comes from the less glamorous parts of the job: where debris goes, how quickly it leaves the site, whether the container blocks access, and what happens when the first load fills faster than expected. A dumpster is easy to treat as a last-minute detail, but on an active remodel it functions more like a piece of jobsite logistics equipment.
Planning waste removal before demolition begins can keep crews moving, reduce unnecessary handling, protect the property, and make the site safer and easier to manage. The following seven decisions are worth making before the first cabinet, wall, roof layer, or flooring section comes out.

1. Estimate the debris before choosing the dumpster
The most common mistake is choosing a container based only on the size of the room being remodeled. A small bathroom can produce surprisingly dense waste, while a much larger room may generate bulky but relatively light material.
Think about both volume and weight. Drywall, cabinetry, carpet, packaging, and general household debris behave differently from roofing shingles, plaster, concrete, brick, soil, or other heavy materials. The right container should match not only how much material you expect, but also what that material is.
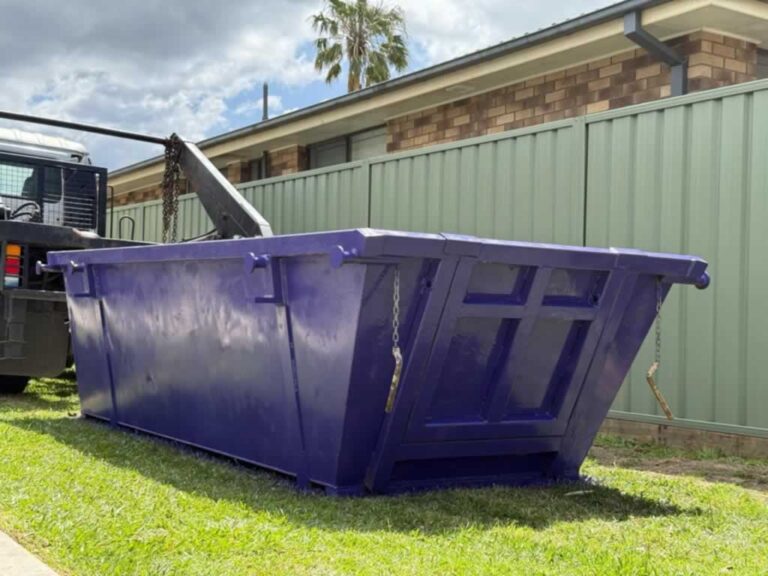
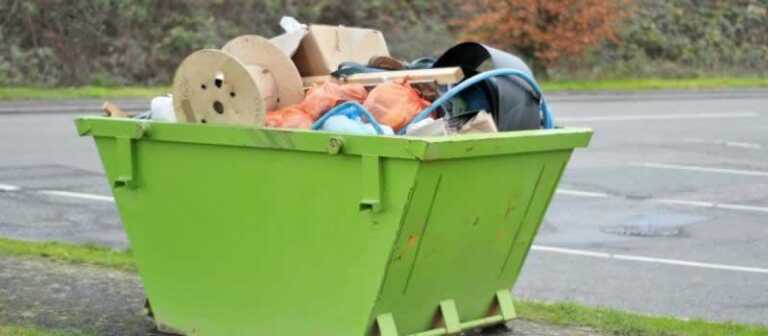
For many residential projects, 10-, 15-, and 20-yard roll-off containers cover a useful range from smaller cleanouts and single-room work to larger renovations and light demolition. If the project involves unusually heavy material, confirm loading rules and weight limits before delivery rather than after the container is full.
2. Choose the placement location before delivery day
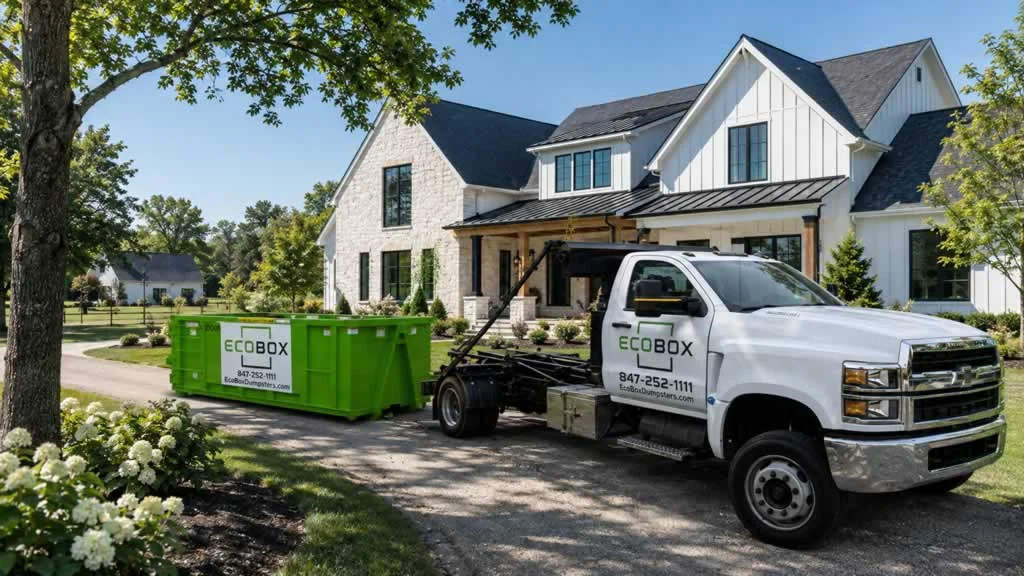
A good dumpster location shortens the path from demolition to disposal without disrupting the rest of the jobsite. Before scheduling delivery, walk the property and answer a few practical questions: Can the truck reach the proposed spot? Is the surface firm and reasonably level? Will the container interfere with garage access, deliveries, scaffolding, landscaping work, or the path contractors use to enter the house?
Driveway placement is often convenient for residential projects, but protecting the surface matters, especially on finished concrete, pavers, or asphalt. A residential-friendly container and appropriate driveway-protection method can help reduce unnecessary contact and concentrated pressure on the surface.
Also look above the placement area. Tree limbs, wires, roof overhangs, and other overhead obstructions can affect safe delivery and pickup. Solving those issues before the truck arrives is much easier than relocating a loaded container later.
3. Make debris flow part of the work plan
The best dumpster location is not automatically the closest spot to the front door. Think about how material will move as the project changes. During demolition, crews may need a direct path from the work area to the container. Later, the same path might be needed for lumber, cabinets, appliances, windows, or other incoming materials.
On multi-trade projects, assign a debris route just as you would assign staging areas for tools and materials. Keeping one predictable path for waste reduces piles around the site and helps prevent demolition debris from competing with new materials for space.
This becomes especially important on tighter suburban lots, alley-access properties, or projects where several contractors are working at the same time.
4. Separate heavy material from ordinary renovation debris
Not everything that comes out of a renovation should automatically go into the same dumpster. Heavy material can consume a container’s allowable weight long before the container looks full. Concrete, brick, dirt, masonry, and roofing material may need special handling or a different loading plan.
Before work begins, identify which parts of the project will generate dense debris and ask the dumpster provider how those materials should be handled. This is one reason a dedicated construction dumpster rental can be more useful than treating disposal as an afterthought: the container size, debris type, weight expectations, placement, and pickup schedule can be planned together.
It is also important to keep prohibited materials out of the container. Paints, solvents, batteries, certain electronics, chemicals, liquids, and other hazardous materials may require separate local disposal programs. When there is any doubt, confirm before loading.
5. Plan for the project to produce more waste than expected
Renovation estimates are rarely perfect. Once walls, cabinets, flooring, roofing, or built-ins are opened up, hidden layers appear. Previous remodels may have left additional material behind, and homeowners often decide to expand a cleanout once a dumpster is already on site.
Build some margin into the plan. That can mean selecting a slightly larger container when the estimate is close, or discussing swap-out options in advance for a longer project. A scheduled exchange is usually less disruptive than discovering on demolition day that the only container on site is already full.
For contractors, this can also protect the schedule. A full container sitting on the jobsite becomes a bottleneck: debris starts stacking next to it, usable space disappears, and crews begin handling the same waste twice.
6. Coordinate the rental window with the actual demolition schedule
The rental period should overlap the part of the project that produces the most waste. Having a dumpster arrive too early can waste rental days, while having it arrive after demolition starts often creates temporary debris piles that later have to be moved again.
A useful rule is to schedule delivery shortly before the first major tear-out and pickup after the last high-volume debris phase, not necessarily after the entire renovation is complete. If the project has several demolition phases, a swap or second container may make more sense than keeping one overflowing container for the duration.
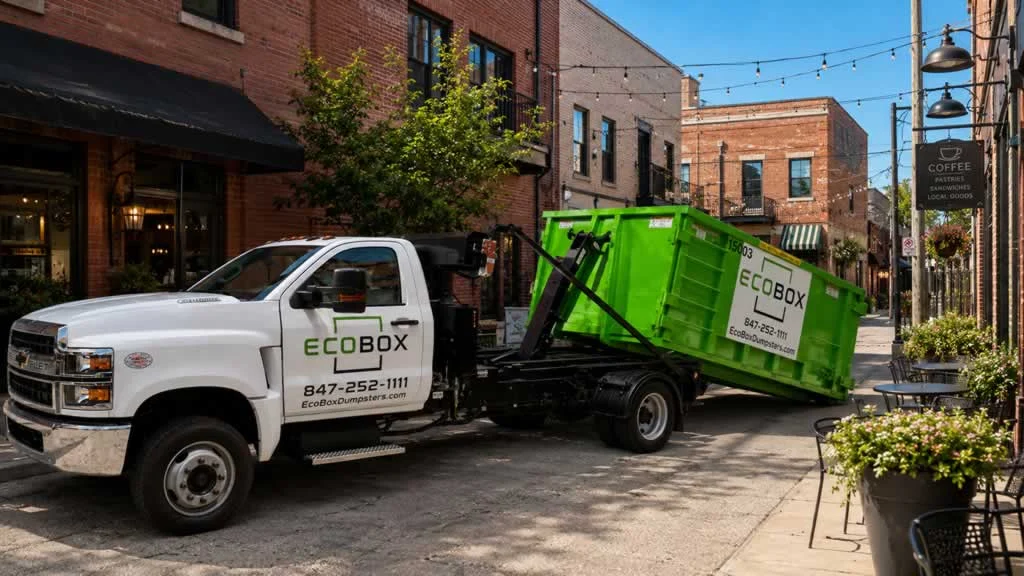
Local scheduling also matters. In the Chicago area, projects can be affected by narrow residential streets, parking restrictions, weather, municipal rules, and limited staging space. For example, EcoBox Dumpsters serves Lake County and Northern Cook County, giving local homeowners and contractors a provider familiar with the practical site constraints that can come with suburban deliveries.
7. Treat cleanup as part of productivity, not just disposal
A well-managed dumpster does more than remove waste. It helps organize the jobsite. When crews know where debris belongs and the container is accessible, material is less likely to accumulate in driveways, garages, sidewalks, yards, or rooms that other trades need to use.
That can reduce double-handling, make daily cleanup faster, and leave more usable space for tools and new materials. It also creates a cleaner environment for homeowners who may still be living in the property during the remodel.
For larger projects, assign responsibility for checking the container at the end of each day. Make sure debris stays below the fill line, access remains clear, prohibited material has not been added, and the pickup or swap schedule still matches the project’s pace.
The best dumpster plan starts before demolition
Waste removal is one of the simplest parts of a renovation to plan, yet it can become one of the most disruptive when ignored. The goal is not merely to have a dumpster somewhere on the property. The goal is to select the right container, put it in the right place, load it with the right material, and remove it at the right time.
When those decisions are made before demolition begins, cleanup becomes part of the workflow instead of an interruption to it. For homeowners and contractors, that means fewer debris piles, less unnecessary handling, better use of limited jobsite space, and a renovation that is easier to keep moving from the first tear-out through final cleanup.

Solid content. Will definitely come back for more.
I appreciate how you highlighted the importance of planning dumpster placement to maintain site access. It’s so easy to overlook the logistics of waste management when focusing on the fun design elements. Proper planning really can make or break a renovation project!