
How To Regrout A Shower Without Removing The Tiles
Table of content
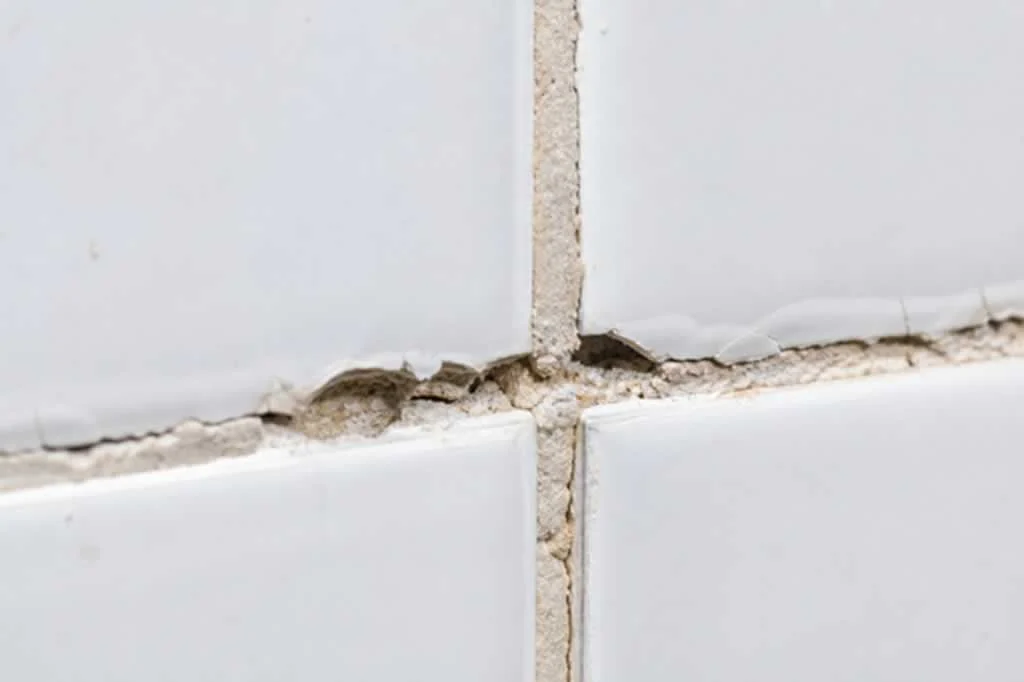
When a shower’s grout starts crumbling, falling out in chunks, or going black with mould, the first thing most homeowners assume is that the whole bathroom needs ripping apart. It doesn’t. In almost every case we look at, the tiles themselves are still firmly bonded to the wall, the waterproof membrane underneath is still doing its job, and the only thing that’s actually failed is the thin layer of grout sitting between the tiles.
That means you can regrout a shower without removing a single tile. It saves thousands, takes a day or two instead of a week, and if you use the right grout the second time around, you won’t have to do it again. Here’s how the job actually goes.
Why you usually don’t need to take the tiles off
A shower is built in layers. From the back of the wall outward: timber framing, plasterboard or cement sheet, a waterproof membrane painted on top of that, a layer of tile adhesive, and then the tile itself. The grout you see is the very last layer, sitting in the narrow joints between tiles. It’s there to keep dirt out and finish the look, not to waterproof the wall.
So when grout fails, the failure is cosmetic, not structural. The membrane underneath is still keeping water out of the wall cavity (assuming it was installed correctly the first time). The tile adhesive is still holding the tile in place. Strip out the failed grout, replace it with fresh, and the shower is back to spec.
The few cases where the tiles genuinely do need to come off are: tiles that have visibly cracked through to the substrate, tiles that sound drummy or hollow when tapped (a sign they’ve lost their bond), and older showers where the membrane itself has failed (rare, usually only an issue in showers built before about 1995). If you don’t have any of those, you don’t need to demolish anything.
What you’ll need before starting
For a DIY regrout, get the following together before you start. Trying to source a missing tool mid-job is how botched grout sets in the joints.
- An oscillating multi-tool with a grout-removal blade (or a manual grout saw for small areas)
- A vacuum and a stiff brush for the dust
- A rubber grout float
- A grout sponge and two buckets of clean water
- Microfibre cloths
- Painter’s tape and plastic sheeting to protect glass, chrome, and the floor
The big choice is the grout itself. Cement-based grout is cheap, easy to mix, and the stuff most DIY tutorials default to. It’s also exactly what failed the first time. Cement grout shrinks, cracks, and absorbs water, which is why showers usually need re-grouting every five to ten years.
Epoxy grout is the alternative. It’s non-porous, doesn’t shrink, doesn’t crack, and bonds permanently to the tile edges. The trade-off: it’s fussy to work with (short pot life once mixed, sticky and hard to clean off the tile face if you’re slow) and roughly four times the price. For a shower, where it gets hit with water daily, the longer-life material is almost always worth the extra spend.
The actual process, step by step
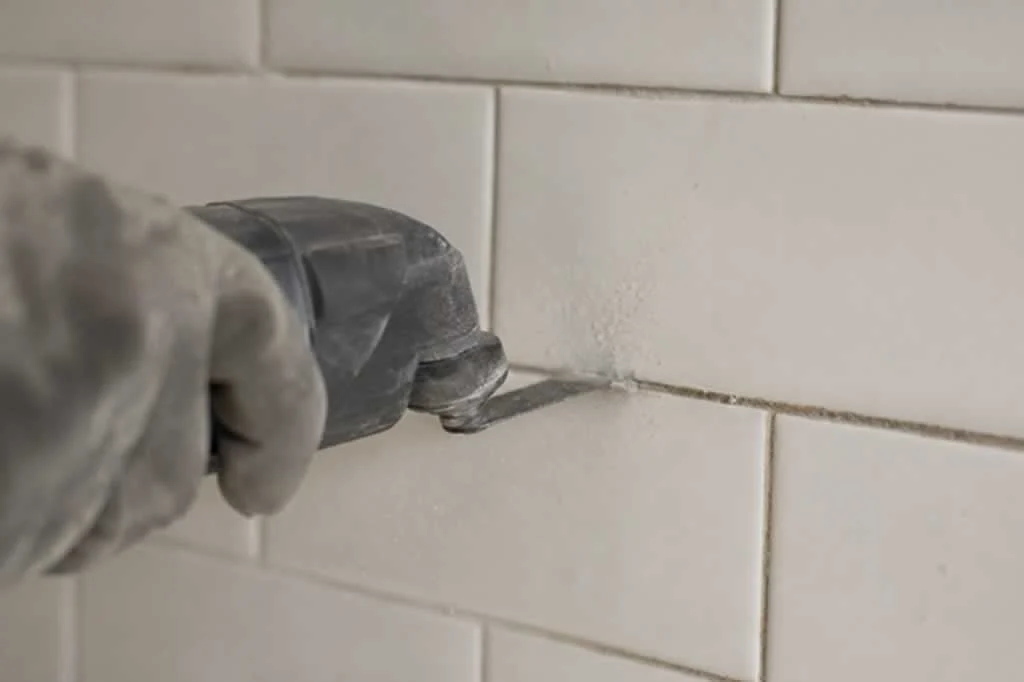
1. Cut out the old grout
Set the oscillating tool’s blade to cut just slightly shallower than the depth of the tile. Run it slowly along each grout line, letting the blade do the work rather than forcing it. The goal is to remove the old grout cleanly without nicking the tile edges or scoring the membrane behind. Internal corners need a manual grout saw, because power tools will chew up the silicone joints.
If you’ve never used an oscillating tool, practise on a hidden corner first. The blade wanders the moment you push too hard.
2. Clean the joints
Vacuum every joint, then go over them with a stiff brush, then vacuum again. Any residue left in the joint will weaken the new grout’s bond. Once the joints are dust-free, wipe the entire shower down with a damp microfibre cloth and let it dry completely. New grout (especially epoxy) won’t stick to a wet surface.
3. Mix the grout
Follow the manufacturer’s ratio exactly. With cement grout, aim for a peanut-butter consistency. With epoxy, you’ve usually got a 30 to 45 minute pot life before it starts setting in the bucket, so mix only what you can apply in that window.
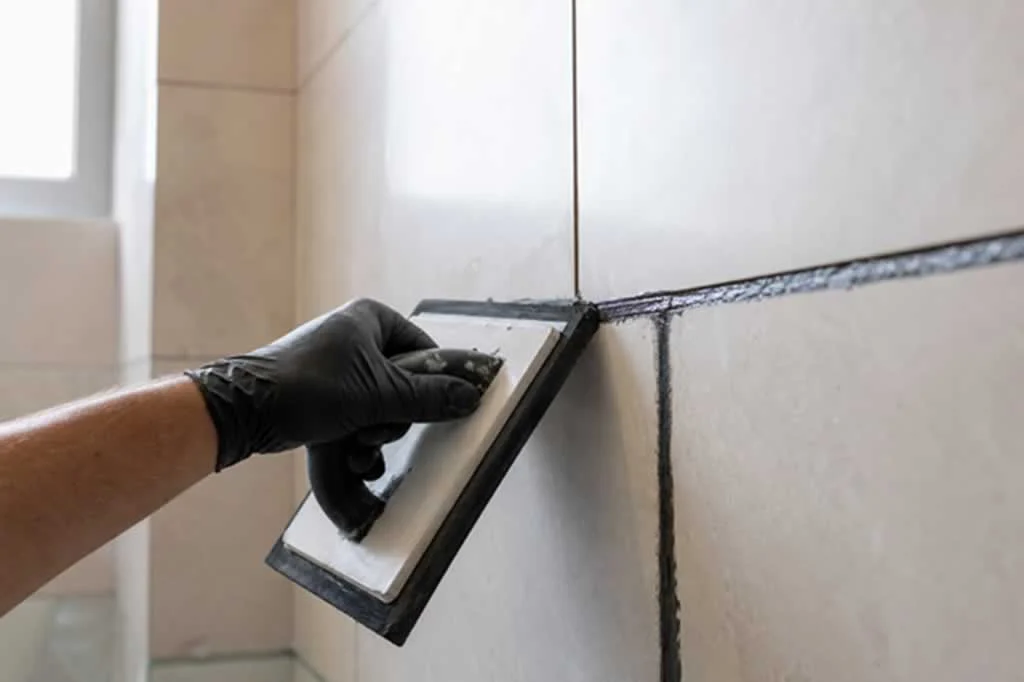
4. Apply with the float
Load the float, then push the grout into the joints on a diagonal to the tile lines. Diagonal strokes pack the joints fully instead of skimming over them. Work a square metre at a time, then move on. Don’t try to do the whole shower in one mix.
5. Initial wipe
Timing is the part that catches DIYers out. Wait until the grout has firmed slightly but is still workable: roughly 10 to 20 minutes for cement, 20 to 30 minutes for epoxy. Then wipe diagonally with a damp (not wet) sponge, rinsing it often. Too early and you’ll pull grout out of the joints. Too late and you’ll be scrubbing dried haze off the tile face for an hour.
6. Final polish
Once the surface dries enough to develop a faint haze, polish it off with a clean microfibre cloth. Don’t shower for 24 hours minimum, longer if you’ve used epoxy.
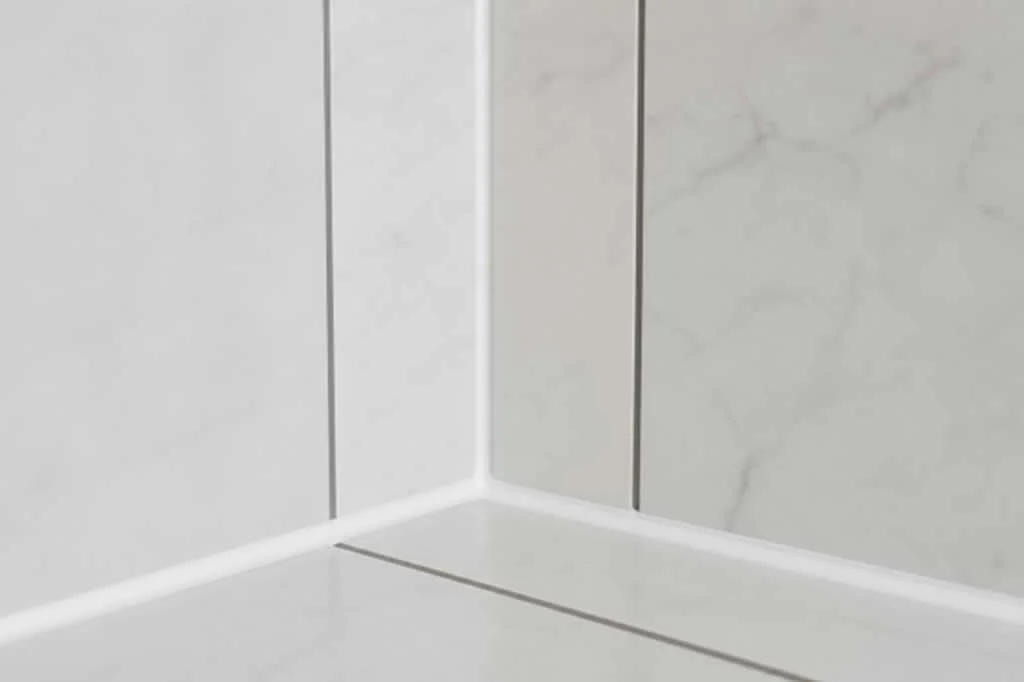
7. Reseal the silicone corners
Cut out and replace the silicone bead in the internal corners and where any glass meets tile. Don’t grout these joints. They need to flex with the shower frame or they’ll crack within months.
Where the DIY line is
Most people can handle a small grout patch in a weekend. A full shower regrout is harder than it looks, especially with epoxy, and the most common DIY failure isn’t the application itself but the clean-up window. Miss it by five minutes and you’ve got cured epoxy stuck to the tile face that has to be scraped off with a razor blade.
If the shower is large, the existing grout is deep and stubborn, the tiles are textured (epoxy haze is brutal on textured surfaces), or you’re using epoxy for the first time, hiring a pro pays for itself in saved tiles and saved weekends.
What to expect from a professional regrout
A pro job on a standard shower runs one full day on site. The team at iSeal Bathrooms does this exact repair day in, day out: full removal of the old grout, a deep clean of the joints, fresh epoxy grout across the whole shower, and every silicone joint replaced with anti-fungal silicone. Our no-tile-removal regrouting service uses a proprietary epoxy grout that holds for the long haul, and it’s backed by a lifetime product warranty.
The cost lands at a fraction of a full re-tile, and you don’t lose the bathroom for a week. For most homeowners with a leaking or failing shower, that’s the right answer. The shower re-sealing step is what turns a cosmetic refresh into a permanent fix.
About the author – John Barnes
 Handyman tips website was created by John Barnes from Phoenix, Arizona, in February 2014. John wanted to share with the public his 20 year experience in home improvement as a contractor and avid woodworker. John noticed that there aren’t many expert advice online and he wanted to help the public to get true expert tips and estimates. What started as a hobby soon became a full time job as Handyman tips website became very popular because of the quality of tips it provides. After a few years John has introduces a couple of new content creators into Handyman tips team but he is still the main content creator on Handyman tips website.