A well-maintained deck can be the main eye-catching feature of your garden or landscape. However, if your decking is starting to look a bit worse for wear, it could be time to take it down and either replace it with a new and improved timber deck or maybe try something completely different with your outdoor space. After all, getting rid of your broken or worn wooden decking can drastically open up your landscaping options. Of course, removing the timbers and framing is only half the battle. Before starting the job, it’s important to remember that disposing of all materials after the demolition can also present a big challenge and requires some forward planning.
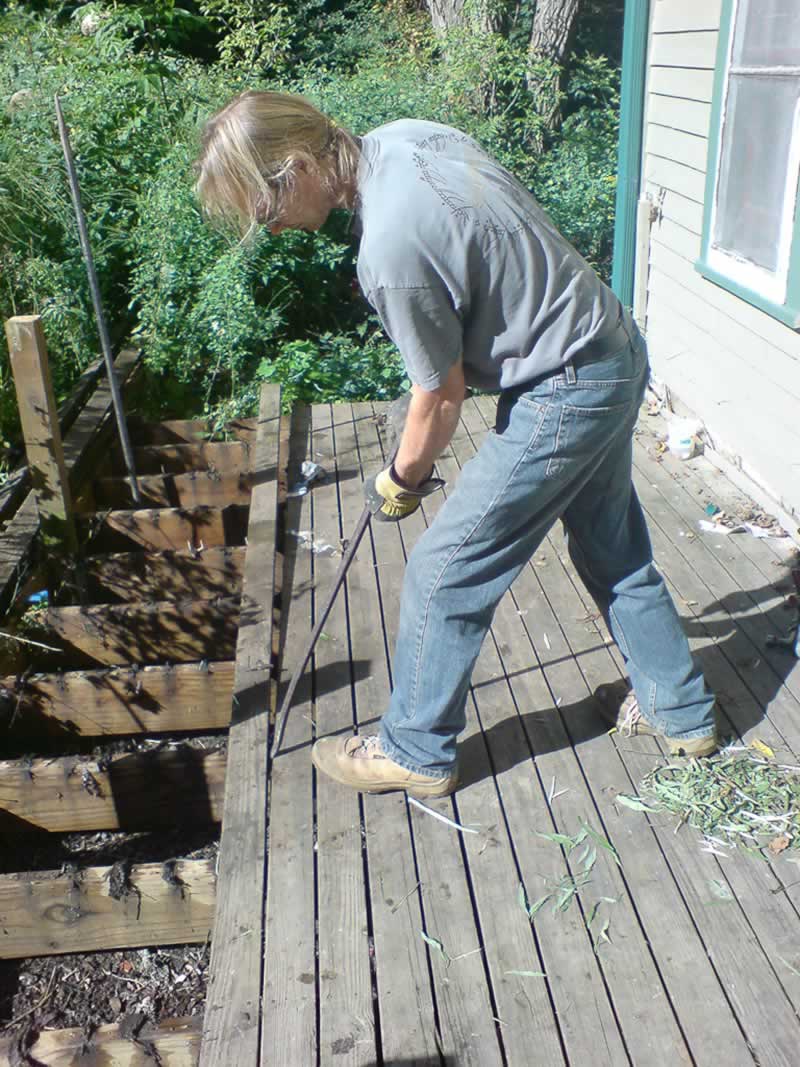
In this post, we will run through our step-by-step guide to demolishing your wood deck and provide our top tips for disposing of your old decking safety and cost-effectively.
Taking down your decking in 6 simple steps
1. Before you start the demolition itself, it is vital to familiarize yourself with the ins and outs of your deck – how it is constructed and just how much debris you think you’ll be left to get rid of when the job is done. It is also important to ensure you have all the correct tools you need to carry out the job, including a screwdriver, a sledgehammer, a shovel, a crowbar and, for bigger jobs, a saw. Safety equipment is also essential, with protective glasses, gloves and steel toe cap boots all recommended.
2 Working from top to bottom, your first port of call is any handrails or fencing your deck may include. Remove all screws/nails that are holding the rails in place and begin to remove all balusters and fencing. Once the screws/nails are out, you may need to gently work the balusters back and forth to fully detach.
3. Next, it’s time to unfasten the wooden deck boards. Starting at one end, remove the screws and lift up each board. You will need to use a crowbar if they are nailed down. Depending on the size of each plank, you may also wish to use a saw to cut the boards down to more manageable slabs.

4. Once the boards have been removed, follow the same process to detach any steps your decking has. You may have to use a crowbar to lift away the risers and stringer, or use the saw to cut them into more manageable pieces.
5. At this stage in the process, you should now just be left with the frame and the decking/rim joists that supported the boards. Using the crowbar, pry these joists away from the frame. You may have to use a sledgehammer to knock each joist loose if they are proving hard to remove.
6. Finally, you’ll need to shift the supporting deck posts. To do this, you may have to dig up the soil around the posts with a shovel in order to loosen them. Using a sledgehammer, break apart any concrete bases that have been used to hold the posts in position and then carefully lift each out of place.
How to dispose of old decking
Once you have finished taking down your wooden decking, your next step is deciding on the right method of disposing of your old decking. Depending on your individual circumstances, you have a few options available to you.
If you only have a small amount of wood, you could dispose of it at your local tip. However, it’s worth noting that some tips may not take wood that has been treated with varnish or lacquer, so make sure you check with your council before exploring this option. Similarly, it’s not recommended that you burn any form of treated wood as the fumes produced could be dangerous, therefore a bonfire is rarely a sensible or environmentally friendly method of disposing of your old decking.