These days, homeowners are taking on more DIY projects to improve their homes. Simple home renovation projects are available that use homeowners’ skills and expertise. What may surprise you, though, is the variety of DIY plumbing projects that are also possible.

An agency that specializes in digital marketing for plumbers reports that business is booming and more plumbers are currently working in the U.S. than ever before. You can gain from some of this professional knowledge. Add some attractive change, or an easy everyday fix, to your home with these five DIY plumbing projects that any homeowner can handle.
1. Installing a New Shower Head
Perhaps you’ve been unhappy with the pressure flow of your shower head. Or maybe you want to install a handheld shower for personal convenience. Whatever the reason, replacing your shower head is a great DIY plumbing project to take up. You’ll want first to turn off the faucet. Loosen the old shower head with a wrench or pliers. After removing it, ensure that you use a calcium, lime, and rust remover to remove all the built-up gunk from the shower arm. After drying the arm, ensure that you put enough Teflon tape onto the shower arm’s threads. You’ll want it to have a secure hold after you screw in your new shower head. Ensure that you tighten the hold with your wrench or pliers, and check for any final leaks from your new shower head. If there are, you can always apply additional Teflon tape to make sure that water is flowing through your new shower head safely and properly.
2. Replacing a Faucet Aerator
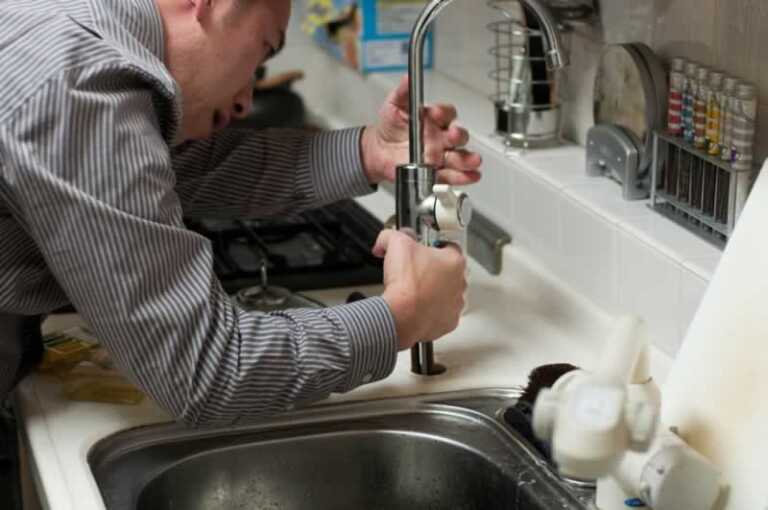
A faucet aerator is a kitchen and bathroom faucet device that shapes its water flow. It pushes a bit of air into the water stream so that it’s straight and evenly pressured. Replacing faucet aerators is a much simpler DIY plumbing project than you think and can also help bring down your water bill’s cost. You’ll first want to unscrew your current faucet aerator counterclockwise and remove it. Use an adjustable wrench if it’s screwed on tightly. Make sure to keep your old faucet aerator on hand. This is important when shopping for a replacement online or taking it to your nearby hardware store.
Your new faucet aerator will need to have an identical size and configuration. Make sure that you look for one that is WaterSense certified by the EPA. This can help lessen your home’s maximum water flow rate, cutting back on water bill costs while also protecting the environment. Once you have your new faucet aerator, you can screw it on by hand and check for any final leaks. This entire process shouldn’t take you more than ten minutes.
3. Recaulking a Tub
You might have reached a point where the caulk on your bathtub is covered in mold and mildew. If so, it’s time to put some new caulk on your tub with this DIY plumbing project. You’ll first want to decide which type of caulk you’ll use to reseal the edges of your tub. We recommend silicone caulk because it is long-lasting (over twenty years) and more resistant to high moisture levels. However, you cannot paint over silicone caulk. If by any chance you’re planning on painting your tub, go with polyurethane caulk instead.
Make sure that you use a plastic razor scraper to remove the old caulk from the edges of the tub. Wipe away the remaining bits with a rag and mineral spirits. You’ll want to put down painter’s tape and then carefully caulk the bathtub areas in a steady motion. Ensure that you smooth out the caulk as it’s been applied and wipe away the caulk’s remaining bits after. Wait at least 24 hours before using the bathtub.

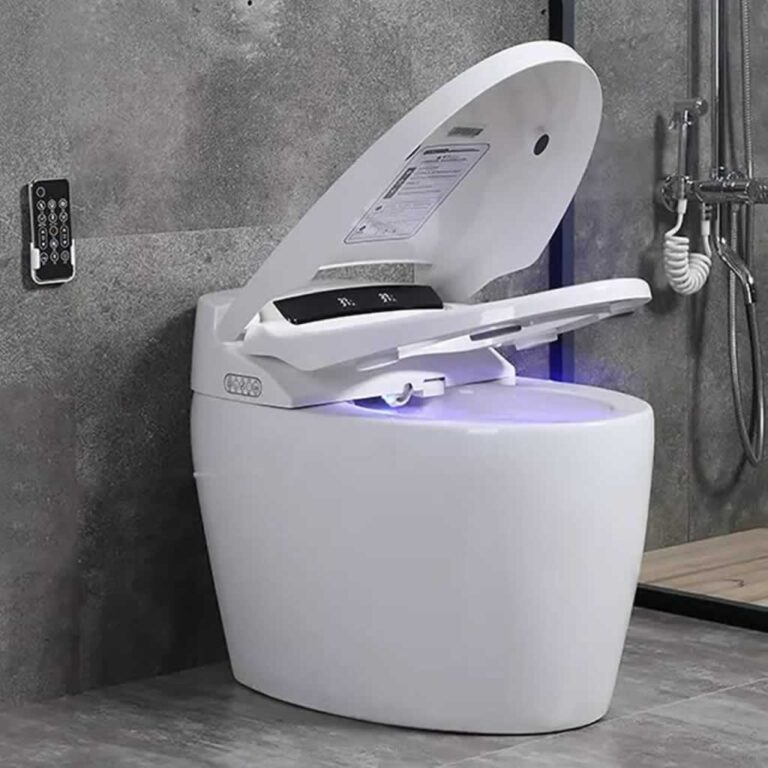
4. Fixing a Loose Toilet
We’ve all experienced a loose toilet that wobbles under us. If you have one at your home, this is a DIY plumbing project you can easily handle. You’ll first want to check the flange bolts at the base of your toilet to see if they’re loose. If so, use pliers or a wrench to give them a good tightening. Check for leaks under the toilet as well. Leakage around the base might be an indicator that the wax ring needs replacement. If you find any large gaps under the toilet, inserting shims underneath and trimming them down to the toilet base can be an easy, cost-effective fix. You can then apply a thin layer of caulk at the toilet base to hide the shims and provide a proper seal for the remaining gaps. Allow 24 hours for the caulk to seal, and your toilet should be free from any looseness or extra motion.
5. Adding Pipe Insulation
In cold winter months, adding insulation to piping can be a useful DIY plumbing project. Insulating hot water pipes can help prevent potential freeze. There are multiple types of pipe insulation to choose from, but we recommend foam insulation, which is more cost-effective and easier to install. Once you have your insulation on hand, you’ll want to use duct tape to seal the insulation strip’s end to the piping. Make sure that you appropriately wrap the insulation strip around the piping so that it is completely covered. If necessary, you can use more pipe wrap to ensure that no piping area is exposed. Finish this plumbing project by sealing the end of the pipe wrap with duct tape, and you’re all set. Plumbing is a vital part of any home’s structure. With these tips, we’re confident that you can take on these five DIY plumbing projects and handle your home’s plumbing with your own expertise with our DIY plumbing tips.
About the Author
This article is provided by Jennifer Bell who is a freelance writer, blogger, dog-enthusiast, and avid beachgoer operating out of Southern New Jersey. She frequently writes with Sagapixel, an agency with a wide range of clients and expertise including, digital marketing for plumbers.