Are you looking to bring efficient and effective cooling or heating to your space? Mini-split ceiling cassette systems are an excellent choice. These versatile units are compact, stylish, and designed to provide optimal comfort.

This step-by-step guide will walk you through installing a mini-split system, such as MRCOOL ceiling cassette DIY, ensuring you achieve a successful installation easily.
Pre-Installation Preparation
Before you begin the installation process, gathering the necessary tools and materials is crucial. These may include a drill, screws, a level, refrigerant lines, electrical wire, and insulation tape. Ensure you have the appropriate sizes and lengths of materials for your specific system.
Selecting the Ideal Location
Choosing the right location for your mini-split ceiling cassette system is vital. Look for a spot that provides optimal airflow and even distribution throughout the room. Consider the room’s dimensions, furniture placement, and any potential obstructions. You can maximize the unit’s performance and energy efficiency by selecting an ideal location.
Mounting the Ceiling Cassette
Start by carefully measuring and marking the location where you want to install the ceiling cassette unit. Use a level to ensure accuracy. Once you’ve marked the spot, carefully cut the opening in the ceiling according to the manufacturer’s specifications. Ensure that the cutout matches the dimensions of the cassette unit. Carefully mount the cassette using the provided brackets, following the manufacturer’s instructions.
Electrical Wiring
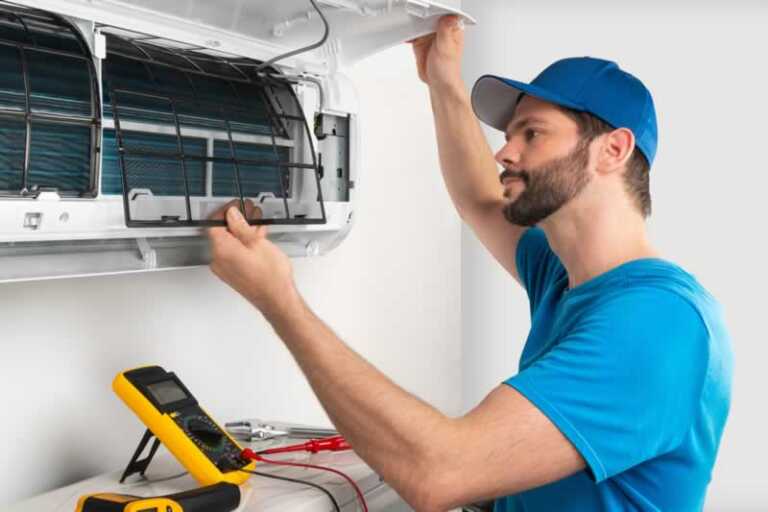
Proper electrical wiring is crucial for a safe and functional installation. Ensure that power to the area is turned off before starting this step. Run the electrical wire from the circuit breaker to the ceiling cassette unit. Ensure that the power, ground, and control signals are connected according to the wiring diagram. When in doubt, it’s always best to hire a professional electrician.

Connecting the Refrigerant Lines
The next step involves connecting the refrigerant lines from the outdoor unit to the ceiling cassette. Carefully measure and cut the lines to the required length, ensuring they reach the desired location without any kinks or bends. Connect the lines to the appropriate ports on the outdoor unit and the ceiling cassette. Secure the connections tightly and use insulation tape to protect them from external elements.
Condensate Drainage
Mini-split ceiling cassette systems produce condensation during operation, which needs to be properly drained. Locate the condensate drain port on the cassette unit and connect a drain line. The drain line should be directed towards a suitable drainage point, such as a nearby sink or an exterior area. Ensure the drain line is sloped downward to allow proper water flow and prevent buildup or blockages.
Remote Control Setup
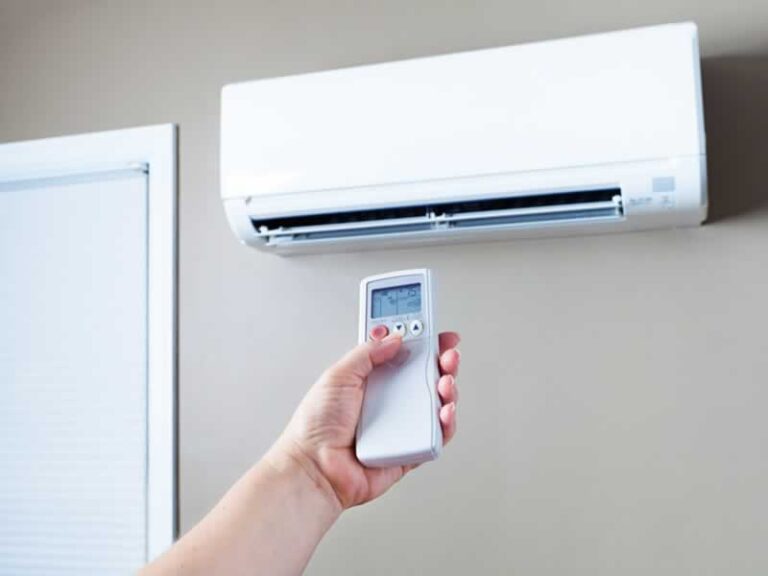
Most mini-split ceiling cassette systems come with a remote control for convenient operation. Follow the manufacturer’s instructions to pair the remote control with the unit. Set up desired features such as timers, fan speed, or temperature settings according to your preferences. Familiarize yourself with the remote control functions to maximize comfort and control over your system.
Testing and Final Adjustments
Testing the system once the installation is complete ensures it works correctly. Turn on the power and set the desired temperature. Monitor the unit for any unusual sounds or vibrations. Check the airflow from the cassette and adjust the direction and speed if necessary. Immediately address any adjustments that need to be made.
Conclusion
Installing a mini-split ductless system, such as MRCOOL ceiling cassette DIY, can bring comfort and convenience to your space. Following this step-by-step guide, you can complete a DIY installation and enjoy the benefits of an efficient and stylish cooling or heating solution. Always refer to the manufacturer’s instructions and consult professionals when needed. If you pay attention to details and put a little effort into creating a comfortable environment, you can design one that suits your needs.