Did the winter caught you unprepared? Snow has fallen and your kids want their sleds immediately! If you want, you can clean the driveway and try to battle your way through to the nearest store and spend over 100$ for a decent wooden snow sled or you can buy cheap plastic one which your kid will brake in one hour. We can all agree that there is no need to do either of this if you plan ahead or if you have spare wood and some tools in your garage. Learn how to make a DIY snow sled with this simple tutorial.

The basic DIY snow sled can be made easier than you expected. If you have a little experience with tools basic DIY snow sled can be finished in couple of hours. This design for DIY sled is basic with no decorations and no fine finishing but their advantage is that they can be delivered to your kids in the matter of hours while making classic design snow sleds require a few days and lot of knowledge and equipment.
First we will provide you with the plans and measurements so you get familiar with the scale of the project. The dimensions can be adjusted if you want a bigger sled but we advise you to keep the scale because you may end up with non proportioned sled.

First you must cut the runners of the sled with jigsaw. The runners of the sled were cut from 25mm thick timber or plywood. The height of the skis was 150mm and the length 750mm. Ideally a 1m length would have made a better proportioned sled but this as all that was available at the moment. The front was radiused and the notch cut to hold the driver’s feet.

After that two cross pieces were cut to set the outside of the runners about 40 cm apart. The rear cross brace was flush with the top and front one placed randomly near the front but not too low down. The braces were held in place with two inch wood screws in each end. We advise you to first drill the holes a size smaller than the screws because it will be easier to screw.

The top deck was made from six 50 x 75mm timber planks. The length of the planks were cut to just overhang the side of the sledge frame slightly. Each plank was drilled and held in place with flat headed two inch wood screws tightened so the heads pulled flush. This is important because heads of the screws can cause injuries while sledging.

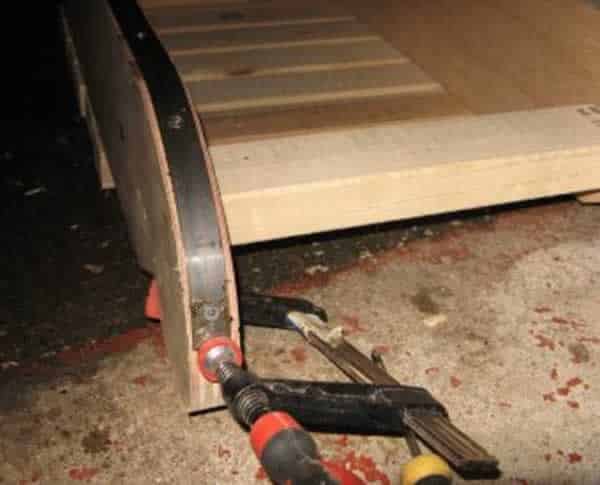
To complete the runners metal skids were screwed in underneath. The skids were made from 2 x 20mm steel strips, but aluminum could also be used. Screws were fully countersunk into the steel and were spaced about 8 cm apart. The front screw was secured first and then the strip was held with a clamp whilst the steel was bent round the wooden runner and screwed in place. After the skids are mounted use high grit sandpaper to smooth the surface as much as you can because smoother surface means faster sled.
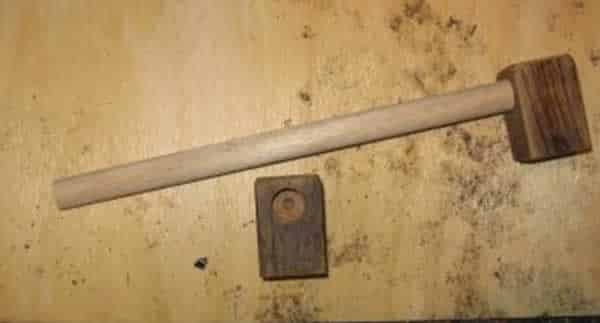
The handle (optional) was an 18mm piece of wooden dowel but a piece of pipe or a broom handle could also be used. The blocks on each end were 75mm tall and 40mm square. They were drilled with a flat bit to suit the handle and then the blocks were screwed onto the deck.
To finish the sled, each runner was drilled at the front to take a 2m length of rope, held at each end with a bow-line hitch. After that you may want to paint the sleds with wood paint but that is an option if you planned ahead an finished the sled before the first snow.
If you want a bigger sled for two or more kids just make a longer chassis and deck accordingly. Also you can tweak the design to make more decorated sleds if you have the spare time but this design is for building DIY snow sled in just a few hours time.
As you can see, you don’t need professional tools and a lot of woodworking experience to make yours DIY snow sled. You can use whatever you have at your home and still make your kid the fastest sled in the street.